How to Make a Beautiful Balloon Garland for a Baby Shower (Step-by-Step Guide)
A balloon garland instantly transforms any baby shower into a Pinterest-worthy celebration. Whether you’re hosting at home or at a venue, a balloon garland makes the perfect backdrop for gifts, a dessert table, or photos with the mom-to-be. The best part? You don’t need to hire a professional. With an affordable balloon garland kit (most people grab theirs on Amazon), you can create a stunning display yourself in just a couple of hours.
Here’s exactly how to do it.
What You’ll Need
Most balloon garland kits include everything you need, but double-check for:
Balloons in multiple sizes (5", 10", 12", and sometimes 18")
Balloon strip (plastic decorating strip with holes)
Command hooks or removable wall hooks
Optional: hand pump or electric balloon pump (highly recommended!)
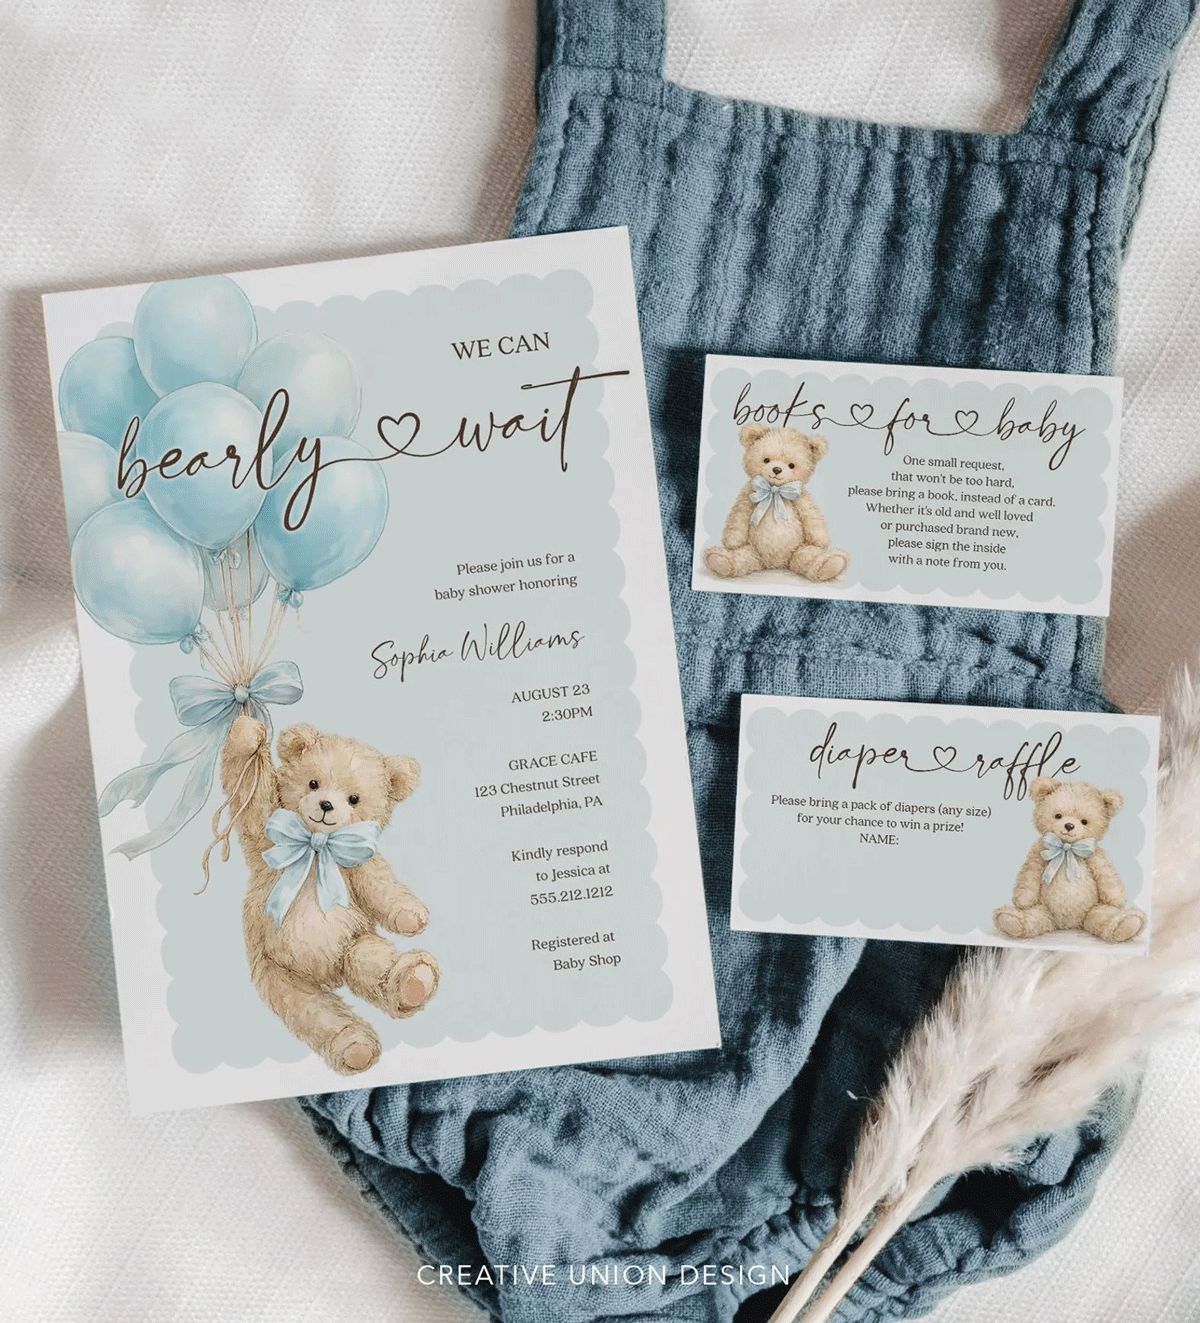
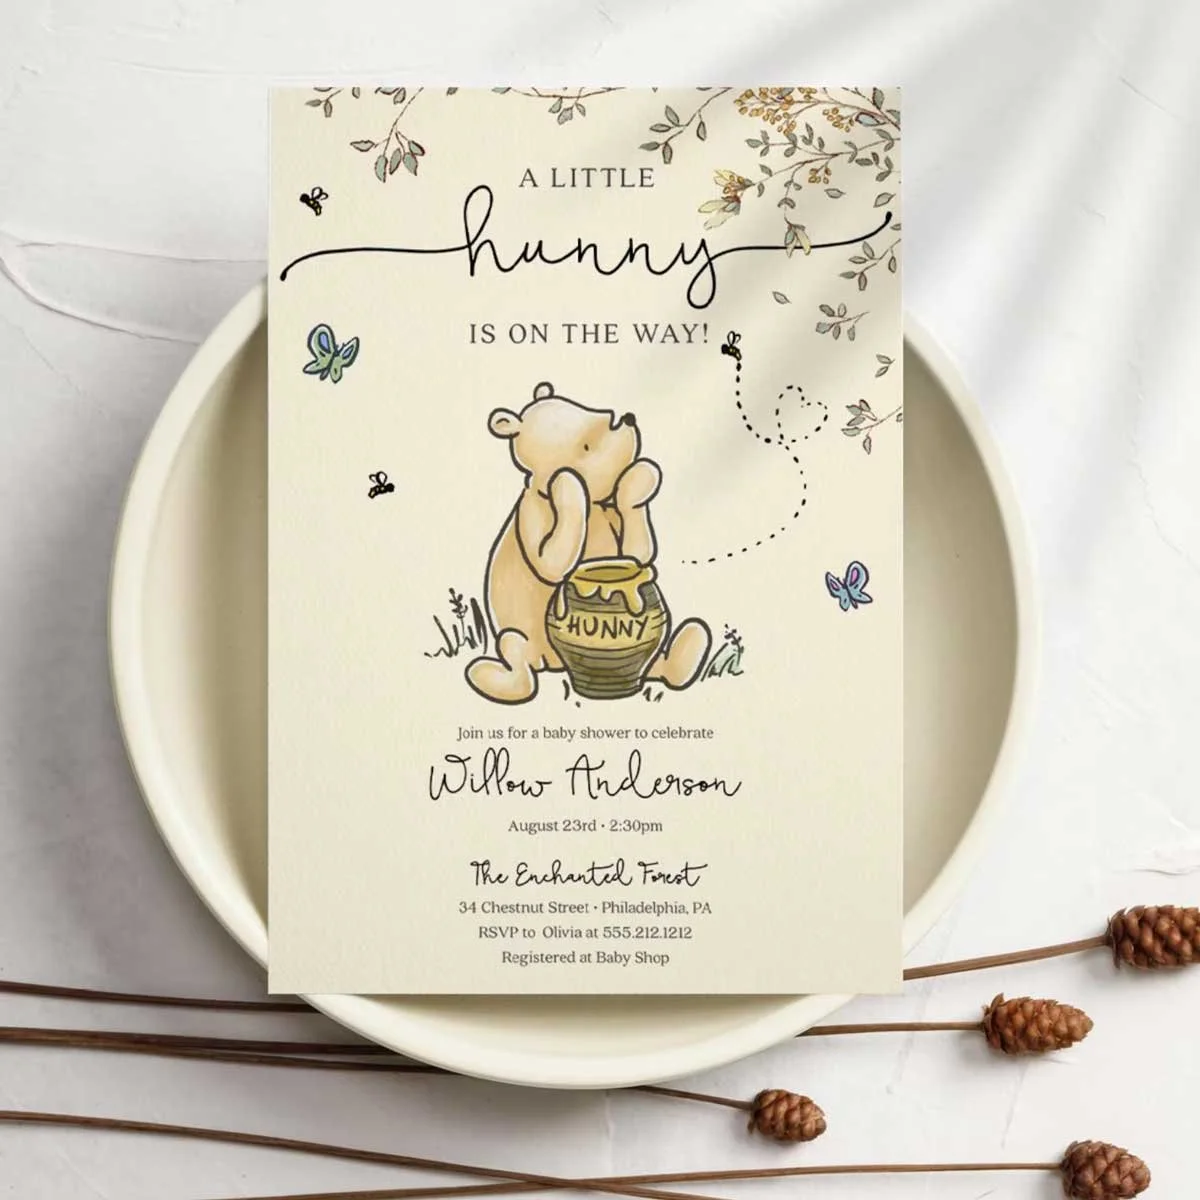
If you’re coordinating with a theme (like “A Little Hunny Is on the Way,” neutral boho, or classic pink and blue), choose balloon colors that complement your invitations, welcome sign, and dessert table décor.
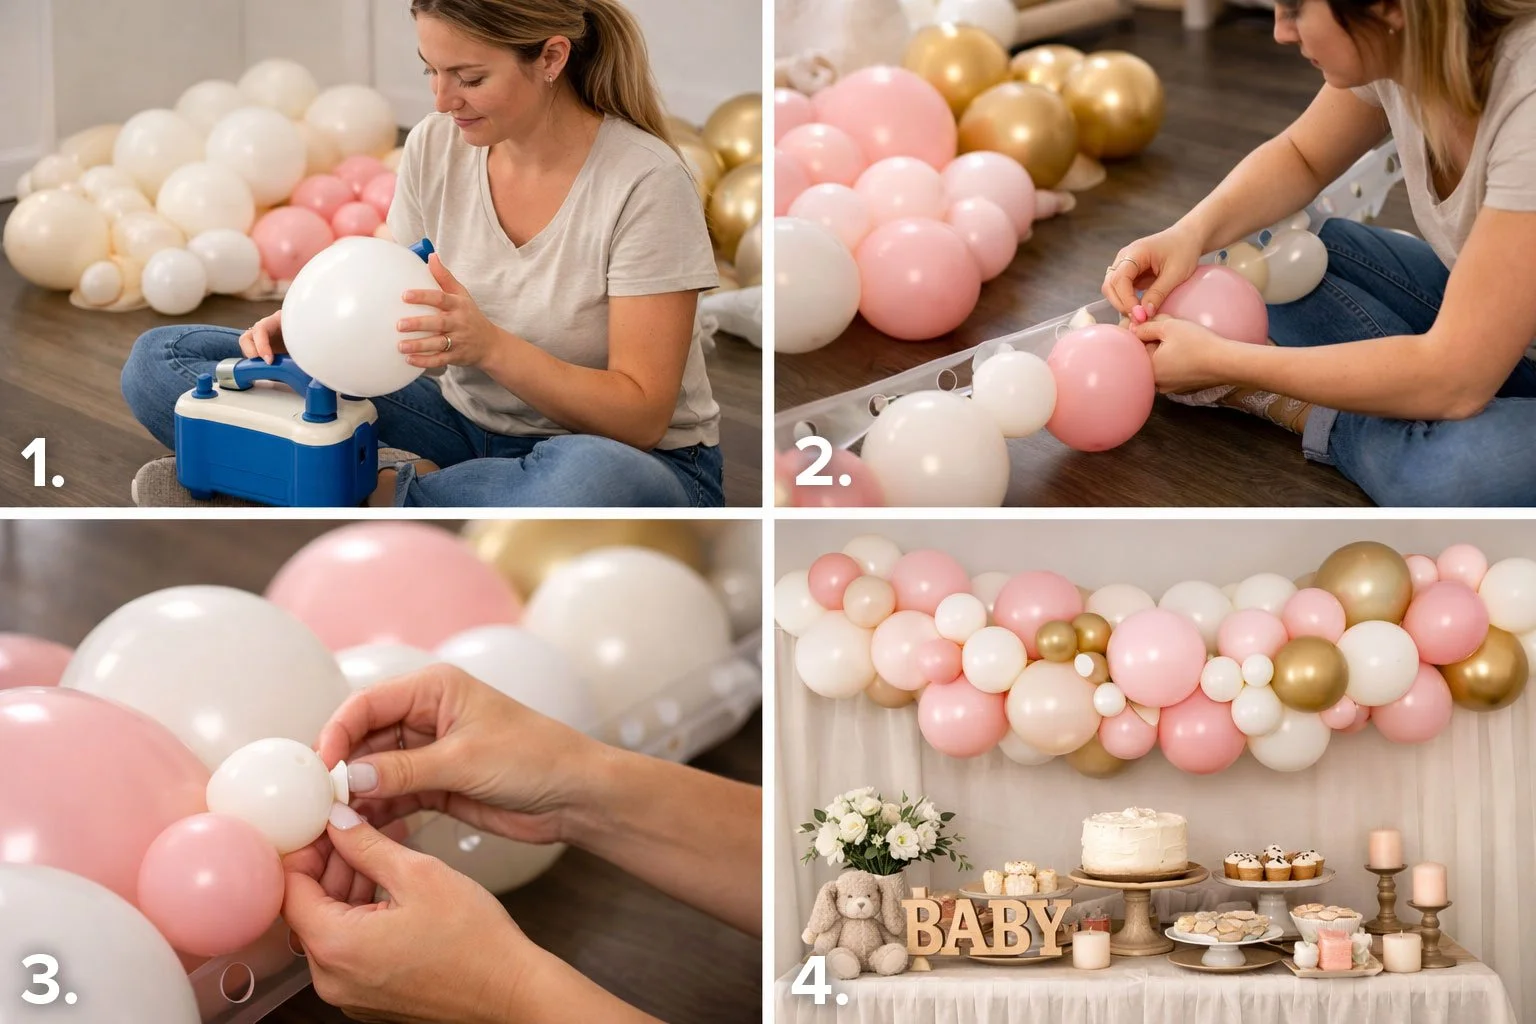
Step 1: Inflate Your Balloons
Start by inflating all your balloons. Vary the sizes to create a more organic, professional look. You can slightly under-inflate some balloons to add dimension. This is what gives garlands that full, layered appearance instead of looking flat.
Pro tip: An electric balloon pump will cut your prep time in half and save your lungs!
Tie each balloon securely and separate them by size into piles.
Step 2: Attach Balloons to the Strip
Lay out your balloon strip on a table or the floor. Insert the tied end of each balloon into the holes on the strip. Alternate colors and sizes as you go. Don’t overthink the pattern — random placement often looks best.
Keep building until your strip is full. Once lifted, it will naturally curve into a garland shape.
Step 3: Fill in the Gaps
After hanging the main garland, you’ll notice small empty spaces. This is where the magic happens.
Blow up smaller balloons (especially 5") and use glue dots to attach them into gaps. Tuck them underneath or between larger balloons to create depth. This step is what makes your garland look professional rather than DIY.
Step 4: Hang Your Garland
Decide where you want your garland — above a dessert table, around a welcome sign, or framing a gift table.
Use removable wall hooks or command hooks to secure each end and the center for support. Gently adjust the shape once it’s hanging. You can create an arch, a half-arch, or a cascading corner design.
If you’re hosting outdoors, secure it tightly and avoid extreme heat, which can cause balloons to expand.
Final Touches
Add a backdrop or a themed sign to tie everything together. Coordinate your balloon colors with your baby shower invitations and décor for a cohesive look guests will love.
With a simple kit and a little patience, you can create a gorgeous balloon garland that looks like it came straight from a party stylist — without the professional price tag.
Happy decorating!
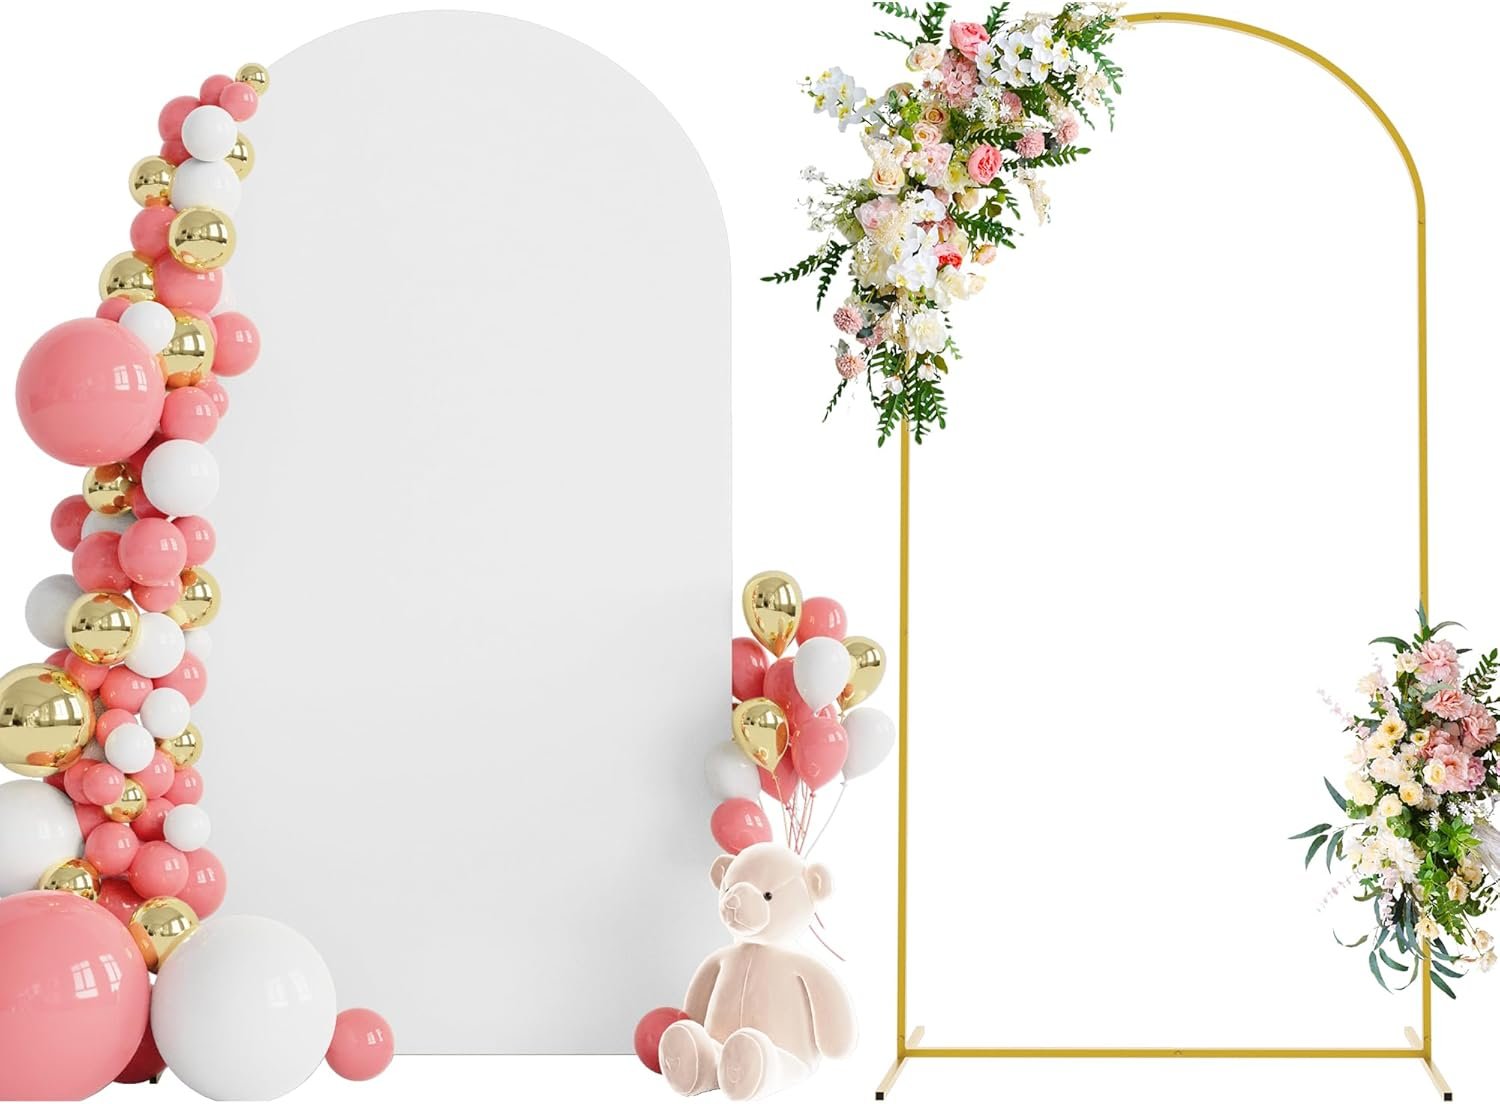
Arch Backdrop Stand and White Arch Cover
Metal arch chaira backdrop stand can be quickly assemble with screws in minutes. The arch backdrop cover with double-sided covering will perfect display your decoration on either side.
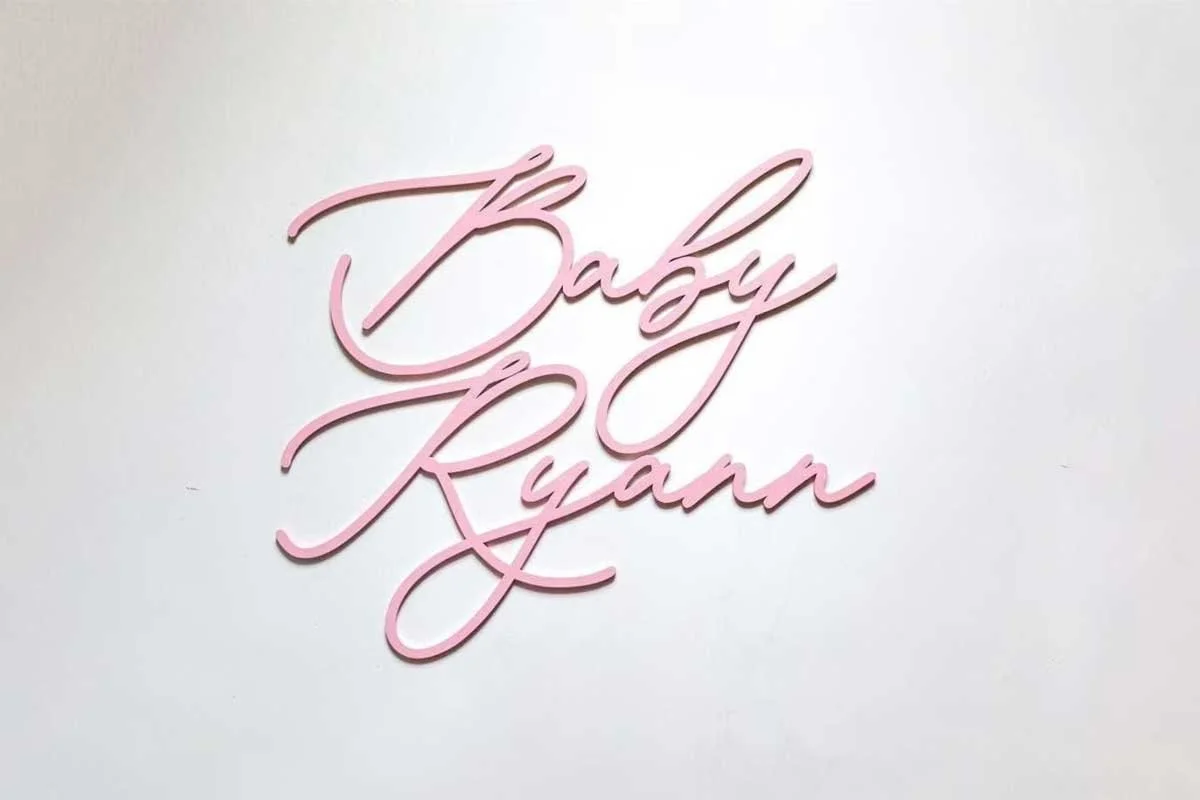
Personalized Baby Shower Decal Sign
Add this personalized decal to your baby shower arch backdrop stand. The backdrop sign's width ranges from 18" to 72", measured from left to right at its widest point for all the words of the personalization on one line.
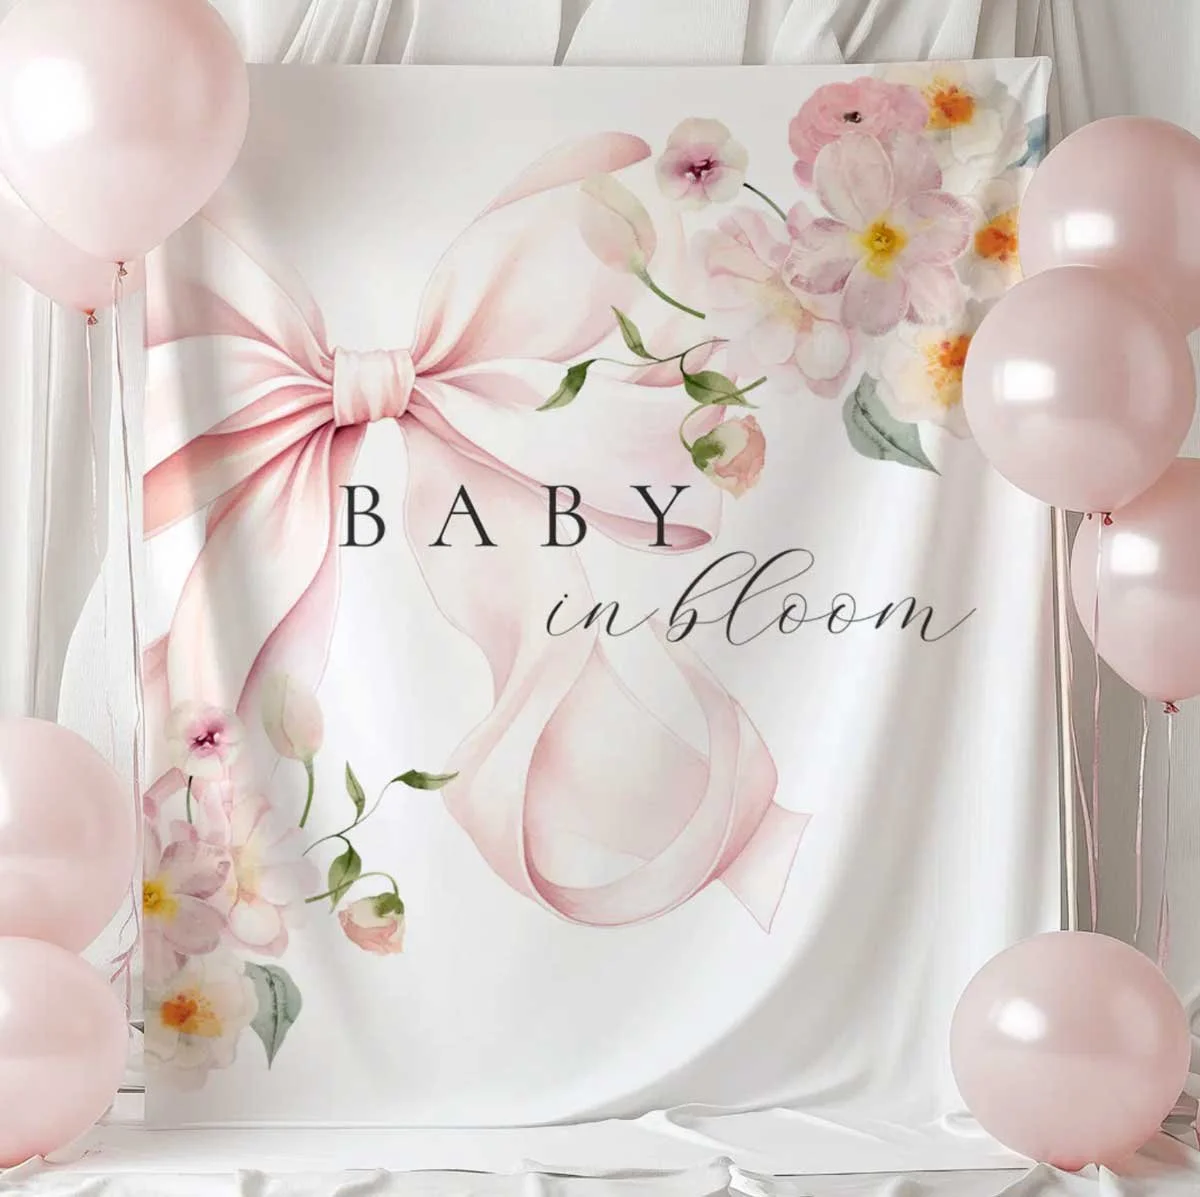
Baby Shower Tapestry Backdrops
Create a larger baby shower backdrop with a tapestry sign that matches your baby shower theme.
We like to suggest other products that can be helpful. Recommended items contain affiliate links. We may receive a small commission for purchases made through these links.